Austin Pergola: Designing and Building a Custom Pergola - How It Works
What to expect from start to finish when working with Austin Custom Pergolas
Step 1 - Basic Design and Preliminary Pricing:
When you first reach out to us it is a good idea to have a basic idea of what you’re looking for in a new custom pergola. Here are a few helpful things to have ready that will make the process most efficient:
Size of Pergola: Measure the approximate square footage of the pergola (10’x10’ = 100 sq. ft., 10’x20’ = 200 sq. ft, and so on.) Size is the main determinant of the cost of a custom pergola.
Images: All of us humans are visual creatures — It’s hard to describe to someone verbally what a pergola looks like, but it’s very easy to show a picture — so it’s helpful to do a quick Google image search or scroll through the dozens of pictures in our gallery and find some examples of pergolas that you like. This will help us narrow down the style that you’re looking for.
Are Upgrades Needed: Do you want upgrades to your custom pergola such as stain, polycarbonate roofing, privacy blinds, or tongue & groove ceiling? You can find out more about these items on our pergola upgrades page.
The best way to initially contact us is via email. Send us the info requested above and attach any pictures you would like to reference. Then we will respond or call you back to discuss options. It’s most effective to start with sending us images and then give us a phone call so we can look at the pictures together while talking on the phone.
Step 2 - Preliminary Pricing:
Once you have a rough idea of the approximate size pergola you want, whether you want any upgrades for your custom pergola and a basic style in mind, it will be very easy to get a preliminary total price. There are two main ways to get a preliminary price for your custom pergola:
You can add up the features and determine the price using our pergola pricing chart.
Or you can contact us with the info from step #1 and we will give you a preliminary price.
Step 3 - In Person Consultation:
Once we’ve discussed design, pricing, and other relevant options for your custom pergola, the next step is to schedule an in-person consultation with our head installer, Adolfo. Adolfo has been with us for almost a decade and has built just about every possible type and size of pergola that could be imagined. He will be able to answer just about any possible question and help you determine the best size, placement, design, attachment, post locations, and anything else needed.
Step 4 - Final Design and Proposal:
After meeting with Adolfo we will take your final design and measurements and put together a written proposal with the total price (with separate line items if you have any custom pergola upgrades). Once any needed changes are made and the final proposal is approved, we will collect the 50% material deposit and get you lined up for installation.
Step 5 - Deposit and Scheduling:
We will collect the 50% materials deposit typically via check (or credit card with an additional fee) and that will get you lined up in our install queue. Lead times for install depend on our current workload and will vary seasonally anywhere from less than one week up to six weeks or more during our busiest times of year. We will make sure to give you plenty of notice and check with you before selecting an exact day.
Step 6 - Material Delivery and Pergola Build:
Most of the time materials will be delivered to your house by our lumber company a day or two before the scheduled install of your pergola. Most custom pergolas will be completed in one or two days. You don’t necessarily need to be home during the entire installation of your pergola, but it is helpful to at least be home when the crew arrives on day one to confirm any final details such as post location, pergola placement, and exact layout. Once the pergola is complete and you are 100% satisfied we will collect the final payment.
Step 7 - Enjoy Your New Custom Pergola!
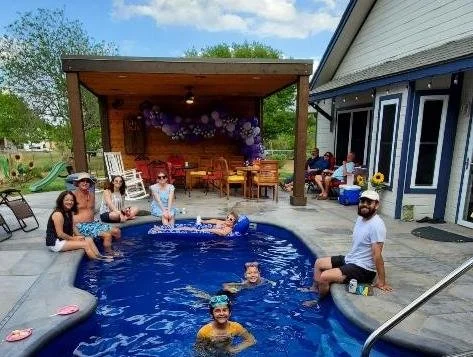
Invite friends and family over for a backyard get-together and enjoy your new investment!


